How to install Node.js and npm on Windows step by step
The proper installation of Node.js and npm on Windows is crucial for any programmer. These tools, which play a crucial role in package management and server-side JavaScript execution, are essential for the efficient development of both frontend and backend projects.
Next, you will learn step by step how to install Node.js and npm on your Windows operating system, allowing you to make the most of these powerful tools in your development environment.

1. Download Node.js from the official source
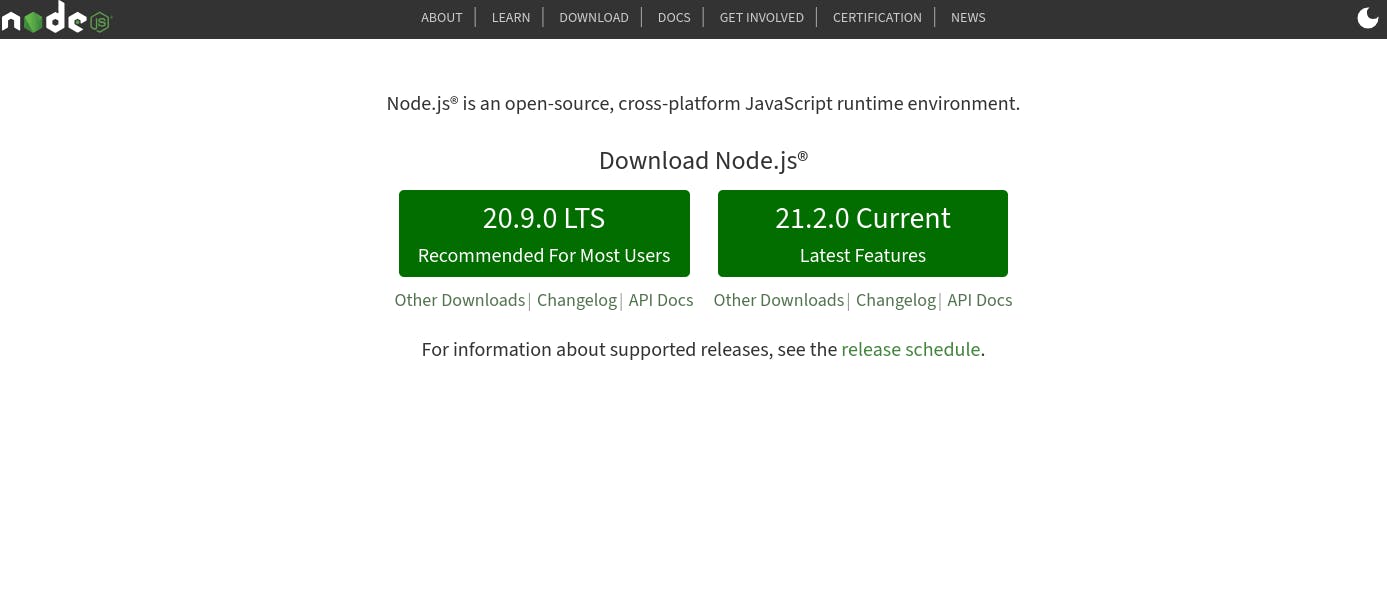
The first step you need to take is to download Node.js. Node is a JavaScript runtime that includes npm as part of its package. You can download Node.js from its official website at https://nodejs.org/.
2. Install Node.js
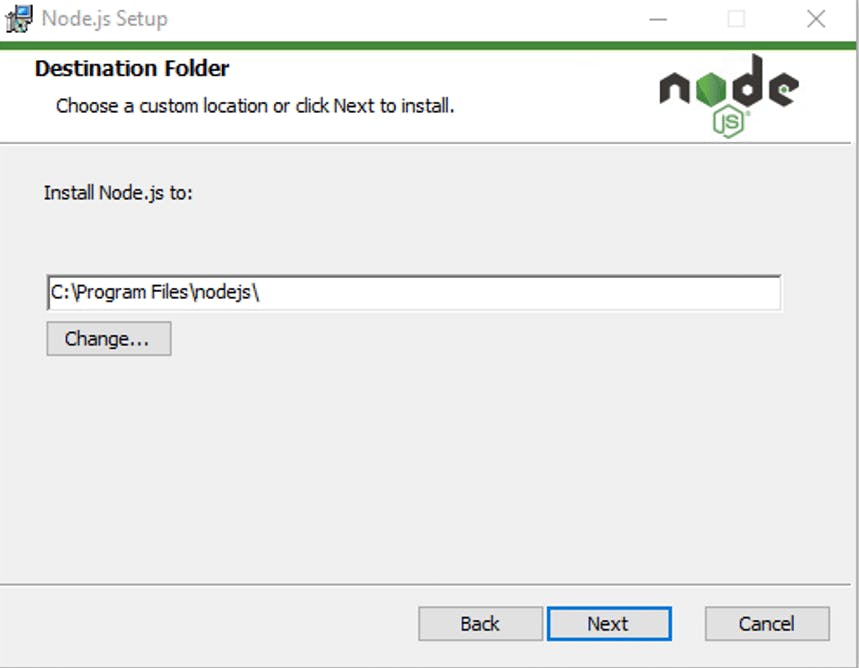
The next step is to run the file you downloaded from the official Node.js page. When running it, simply follow the typical step-by-step installation process for any application on Windows (next, next, next).
3. Open the command line
Once you have installed Node.js, open the command line on your computer. You can do this by clicking the Start button, typing "cmd" in the search, and pressing Enter.
4. Verify the installation of npm and Node
To check if Node.js and npm are installed correctly, type the following command in the cmd terminal:
node -v
npm -v
If the installation was successful, you will see a message displaying the current version of both npm and Node.
5. Optional - Install the latest version of npm
When you download and install Node, it comes with a pre-set version of npm. If you want to install the latest version of npm, you should run the following command in your terminal.
npm install npm@latest -g
And that's it! With these simple steps, you have successfully installed Node.js and npm on your Windows system, providing you with essential tools for web development with JavaScript. Now you are ready to start building your frontend and backend projects efficiently.